Ever had to insert sequential series of data for hundreds or thousands of cells in Excel?
You can copy the content of a cell to a couple of other cells using the copy and paste function, but how can one autofill a series in excel?
To save the undue effort of manually filling in data, Excel offers its users the Fill Handle feature. It allows you to autofill a series by simply dragging down a small icon.
You can even choose how and what values you want to be entered to the cells that follow.
That’s not all. Dive in to find out all about Fill Handle in Excel and how to use it.
Table of Contents
What is The Fill Handle in Excel?
The Fill Handle is a versatile tool that enables autofilling of a series of data based on a certain pattern. Fill Handle in Excel is installed by default and is widely used for the purposes of data entry and transformation.
It is represented by a small rectangular box at the bottom right corner of a cell and comes up as soon as the cell is activated.
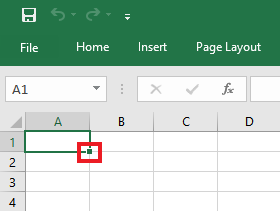
For instance, you want to input numbers from 1 to 10 in cells A1 to A10. Instead of inserting each digit individually, simply enter the first two numbers and drag and release the fill handle to input the remaining numbers.
Sounds easy, no? This is how it works.
Once you have input the first two or even the first value of your intended series, move your cursor to the right bottom of the cell, and drag the Fill Handle until you want the series to continue.
How to Use Fill Handle in Excel?
Using the Fill Handle in Excel is pretty quick and simple. It will generate succeeding values for a series of data on the basis of a certain pattern.
However, if a suitable pattern is not set or is not recognized by the Fill Handle, it will simply copy-paste the value from the first cell to the following cells. Let’s see an example to fill handle in Excel.
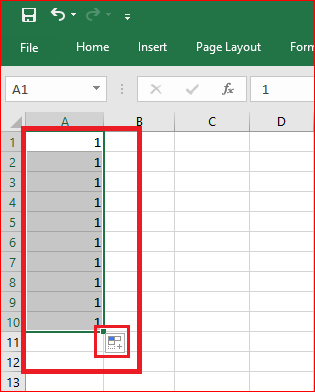
Suppose you need to enter the first ten odd numbers in a single column. Select cell A1 and input ‘1’ in the formula bar as demonstrated below.
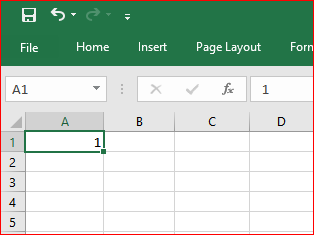
If you don’t enter the subsequent number ‘3’, and drag the fill handle, Excel will simply paste the digit ‘1’ in the next nine values. That’s because a single value was not adequate for the fill handle to recognize the odd numerical order. The result will be as follows:
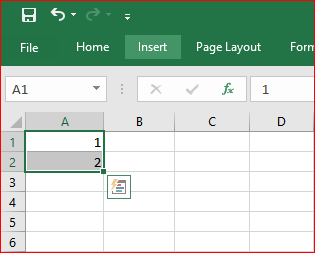
Now let’s add the next digit in the odd series i.e. ‘3’ and then use the fill handle.
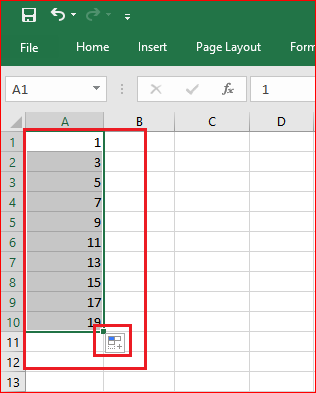
As evident, the Fill Handle immediately picked up the sequence on the addition of 3 and continued the series while incrementing each value by 2.
Pro Tip: Sometimes it’s the case that even after adding the first two values of the intended series, upon capturing and dragging the Fill Handle, Excel would only return the first two values copied and pasted instead of filling in the series.
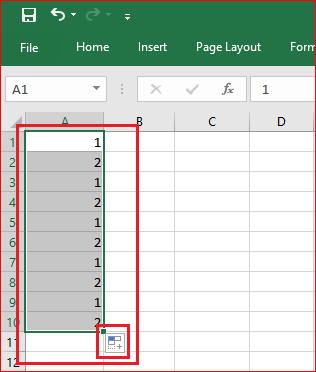
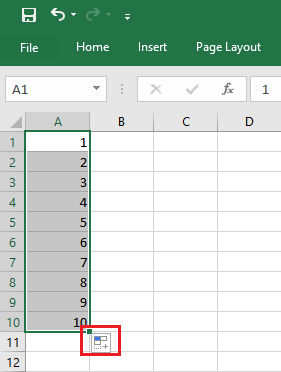
To combat the foregoing problem, look out for an ‘AutoFill Options’ icon appearing at the bottom right of the last cell as highlighted below.
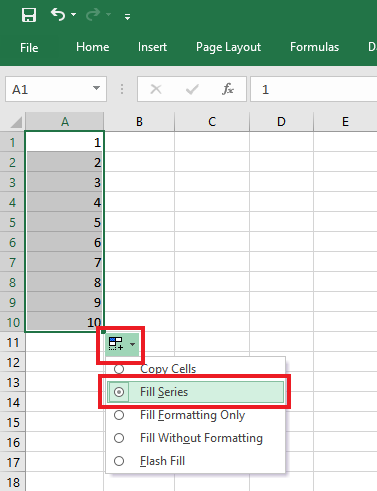
From the drop-down menu that opens upon clicking the AutoFill button, select the Fill Series Option and Excel would replace the copied and pasted values with auto-filled series.
The Double Click Feature
Another plus point of the Fill Handle in Excel is the double click feature that works only when there are values in its neighboring rows or columns.
For example, if you select a cell and double-click the fill handle, Excel will automatically fill the series until the last value is in the adjacent column or row. Here is how it works.
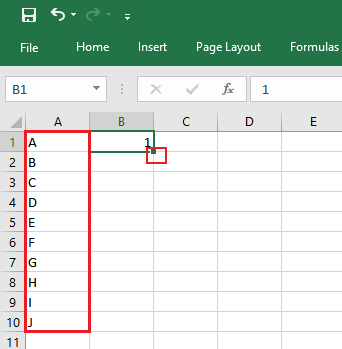
Cell B2 contains ‘1’ and is adjacent to the column containing the first ten alphabets. If we double-click the Fill Handle now, it will fill the column automatically until the last value of Column B becomes adjacent to the last value of Column A, as shown below.
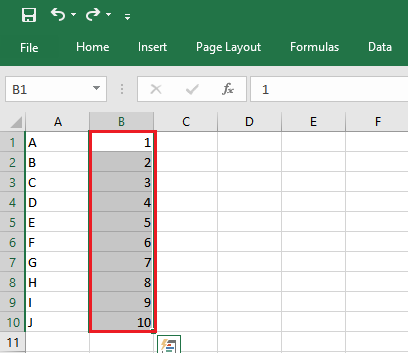
This helps when you have to copy values to hundreds of cells, and dragging the Fill Handle becomes tiring. You can double click, and Excel will fill the series up till the cell adjacent to the neighboring cell of the other column that contains values.
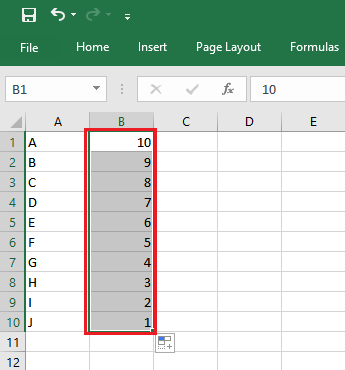
Also, instead of incrementing, the Fill Handle can fill values in a decrementing sequence if you input the first two values in the same order i.e. 10 in the Cell B1 and 9 in the Cell B2.
Autofill Menu for a List of Items
Fill Handle is a resourceful feature of Excel that offers users with a diverse range of options. As soon as you’ve used the Fill Handle feature, the ‘Auto Fill Options’ icon appears at the bottom right of the series as evident in the screenshot below.
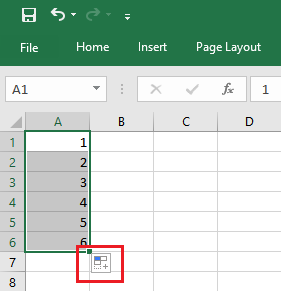
On clicking the icon, Excel displays a list of actions that can be performed depending upon the type of data under discussion (numbers, days, dates, etc.). Let’s look into how you may use each of these options.
1. Numbers – AutoFill Options
For a list of numbers, it shows options as highlighted below:

Let’s see what these options are used for as below:
Copy Cell: It fills the series by copy-pasting the contents of the first cell of the series.
Fill Series: It is the option set by default. It allows the Fill Handle to understand the pattern of values appearing in the initial cells and complete the series in accordance with the same.
Fill Formatting Only: It is used when some formatting has been applied, like assigning colors, creating tables or charts, etc. It copies the formatting throughout the series but does not copy the values.
Fill Without Formatting: It works opposite to the ‘Fill Formatting Only’ option as it copies the values only and leaves out the formatting.
Flash Fill: It is a plus feature of autofill that is extremely useful when you need to work on a tons of data. It automatically enters corresponding data from adjacent cells to the active cell. Let’s see an example of how this works.
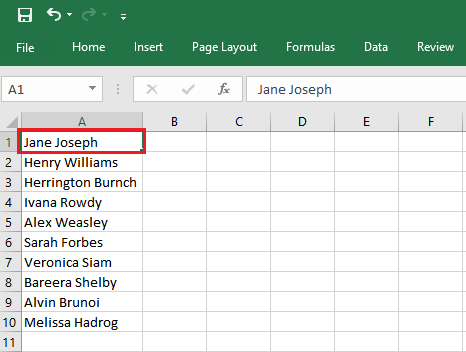
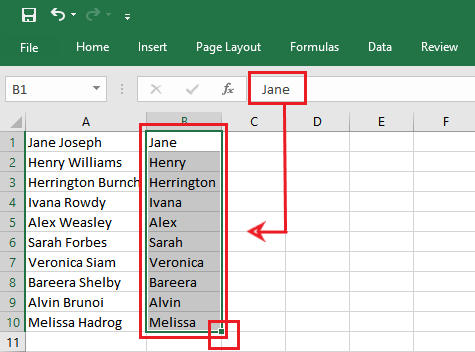
Column A has all the data to be entered into the neighboring columns. If you type ‘Jane’ (the first part of the value in A1) in the adjacent cell, double click the fill handle and choose Flash Fill from the autofill option; here’s what will happen.
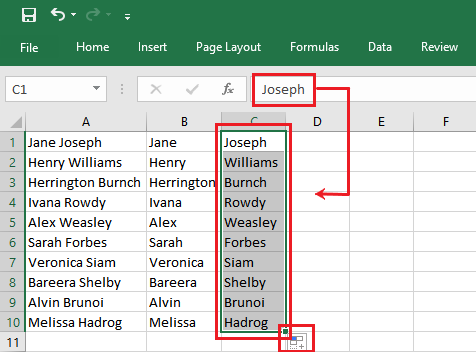
The same would be true for column C containing the surnames as:
Alternatively, if you type ‘Jane Joseph’ (the complete value in A1) in the adjacent cell, double click the fill handle and choose Flash Fill from the autofill option; Excel would flash fill Column B with the complete values as appearing in the adjacent cells of Column A.

2. Days – AutoFill Options
When entering days, Fill Handle offers options as highlighted in the screenshot below:
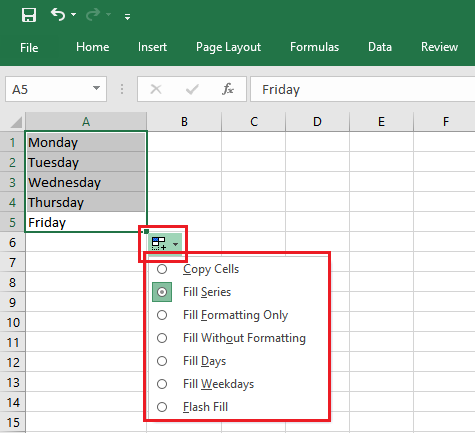
AutoFill Weekdays: It allows the Autofill to only input the weekdays and not weekends as evident below:
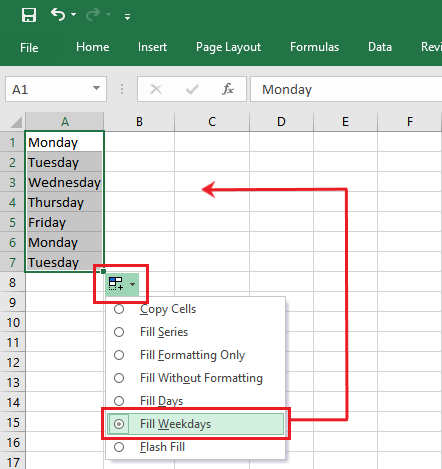
So after the last weekday, Friday, it starts again from Monday.
AutoFill Days: Contrary to the above ‘Fill Weekdays’ option, the option to ‘Fill Days’ fills the series with all the days of a week.
3. Dates – AutoFill Options
The Fill Handle of Excel allows users to enter dates following a specific pattern and provides with options as shown in the screenshot below.
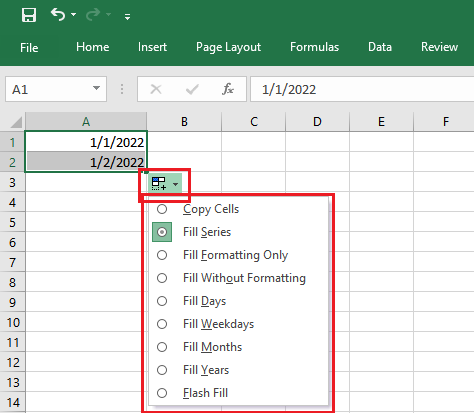
For instance, for the Fill Handle to fill the first ten dates of January, you will have to select the Fill Days option as follows:
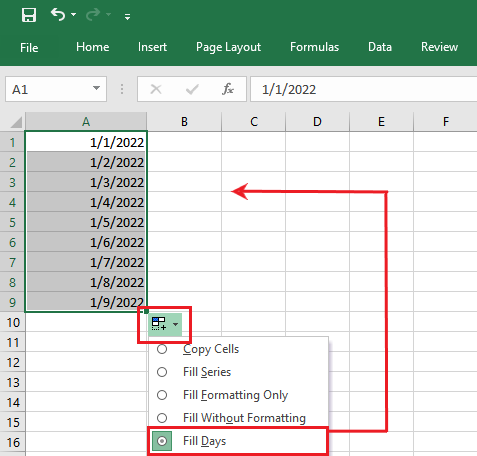
Similarly, you can fill in years or months in the same way, using the Fill Months and Fill Years option from the autofill. Fill Handle increments each entry by 1.
How Do You Enable the Fill Handle in Excel?
The Fill Handle feature in Excel is available by default, and you don’t need to go looking for it in different tabs. However, you might possibly have disabled the feature mistakenly. You can find it in:
File > Options > Advanced
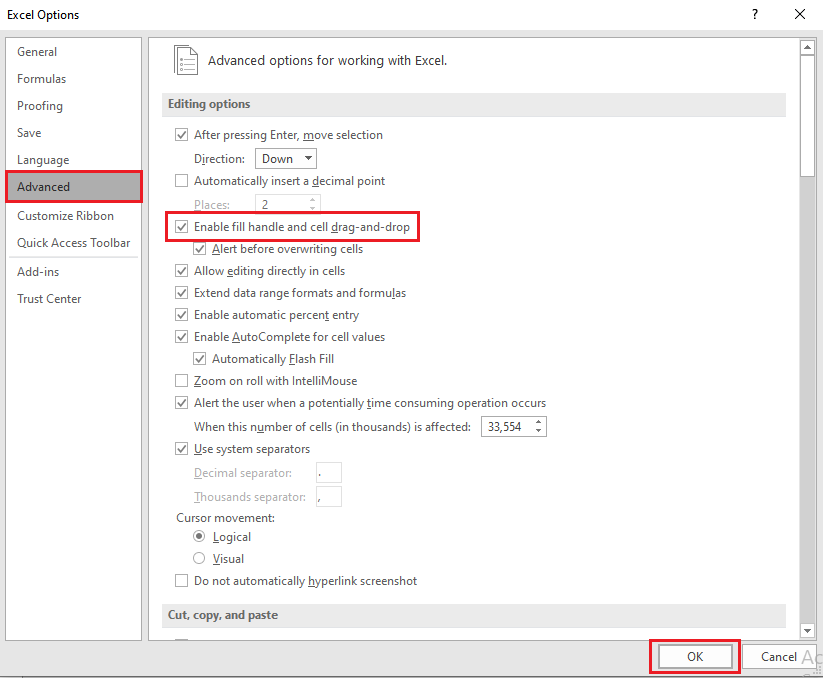
Make sure the Enable Fill Handle option is checked. Click Ok, and you’re good to go.
Conclusion
Fill Handle is one of the simplest and quickest features to use that makes your work and time 10x more productive. A single double-click fills hundreds of cells in less than a second.
That brings us to an end. We hope you find this article to be as helpful as we crafted it to be.
Happy Excel Learning!
Suggested Tutorial: How to Square a Number in Excel?