When we print a document in Word, we don’t usually pay much attention to the page setup. The printed output would nearly always match how we see it on the computer screen.
With Excel, however, it’s different. We need to be able to configure the right page settings to be able to print the worksheet in the format that we want.
In this tutorial, I will show you quick and easy steps to center a worksheet horizontally in Excel.
Table of Contents
Center a Worksheet Horizontally
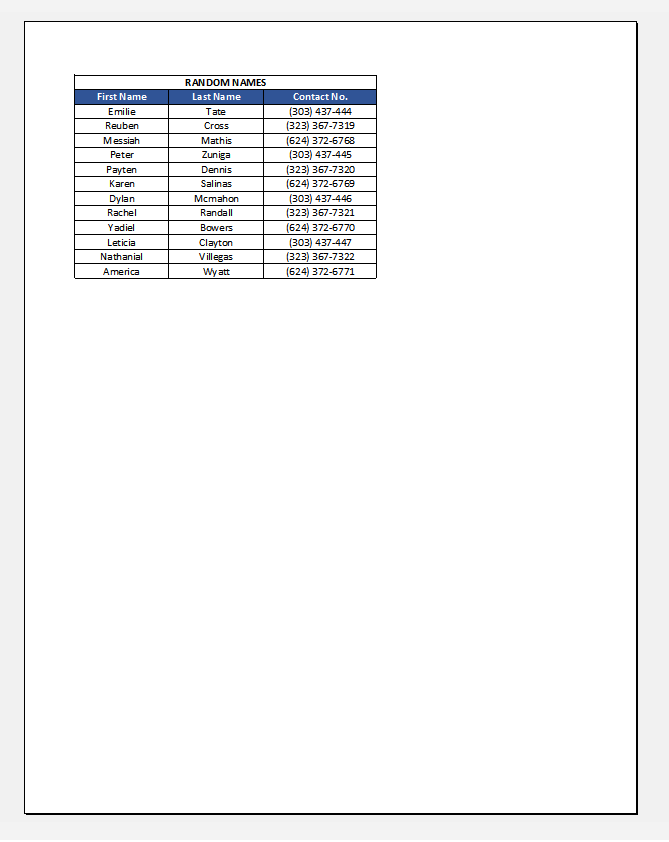
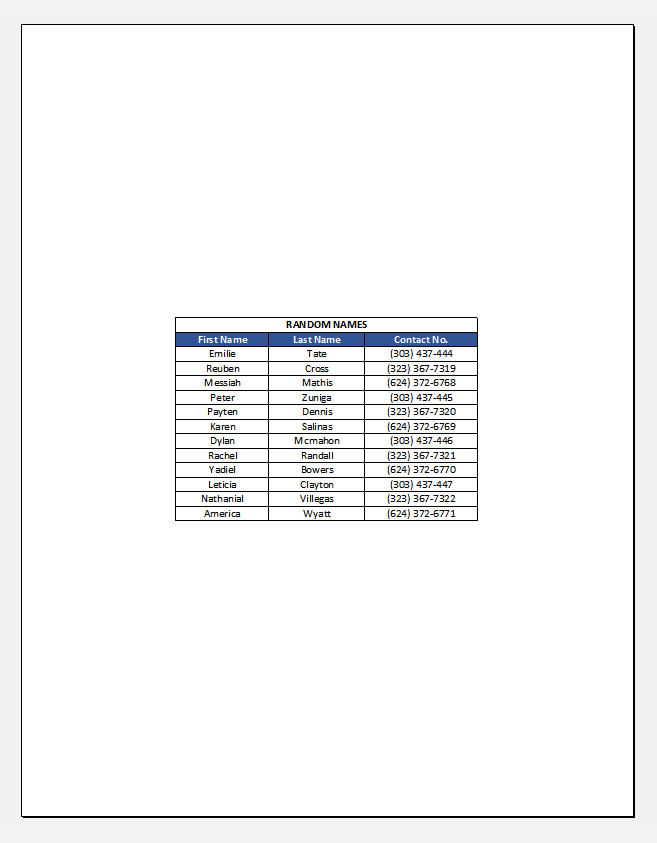
Intuitively, we usually start entering the data at the leftmost part of the worksheet (e.g., cell A1). When we print it using the default page settings, the data stays on the leftmost side of the page (as shown below).
To move the contents of the worksheet to the horizontal center of the page, we need to make some changes to the Page Setup.
But before doing that, we have to highlight the area you intend to print.
Select Print Area
1. Activate the worksheet that you want to print.
2. If you don’t intend to print all the contents inside the worksheet, highlight only the area you plan to include. Otherwise, you can skip this step.
Open the Page Setup
There are two ways to open the Page Setup:
- from the File menu
- from the Page Layout menu
The second option may be the quickest method, but the first option allows you to view the result instantly.
Configuring the Page Setup from the File menu
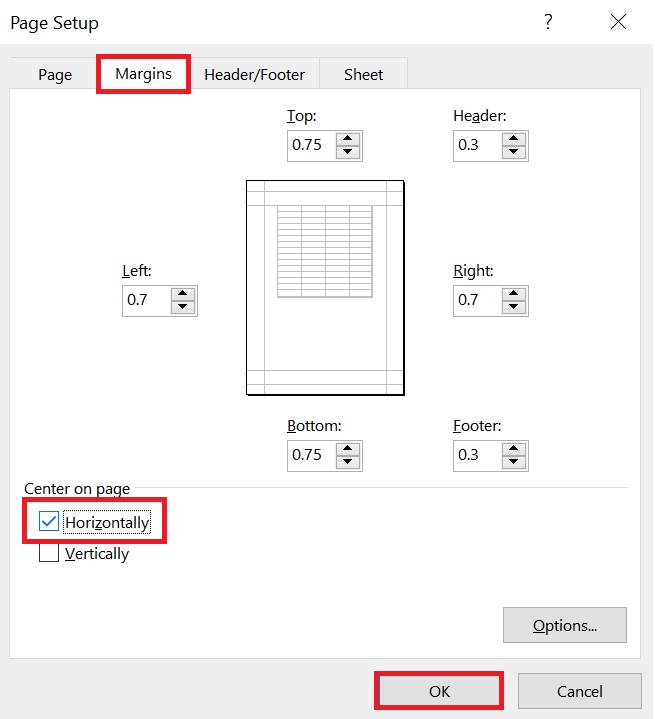
Go to File >> Print >> Page Setup.
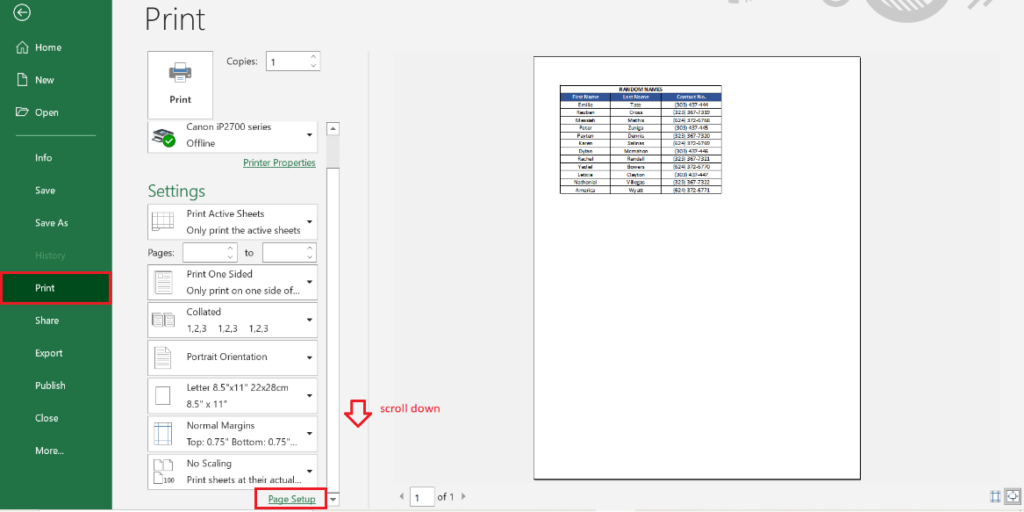
Notice that the Print Preview is on the right side of the screen.
That allows you to view how your selected print area will appear on a page with your current Page Setup.
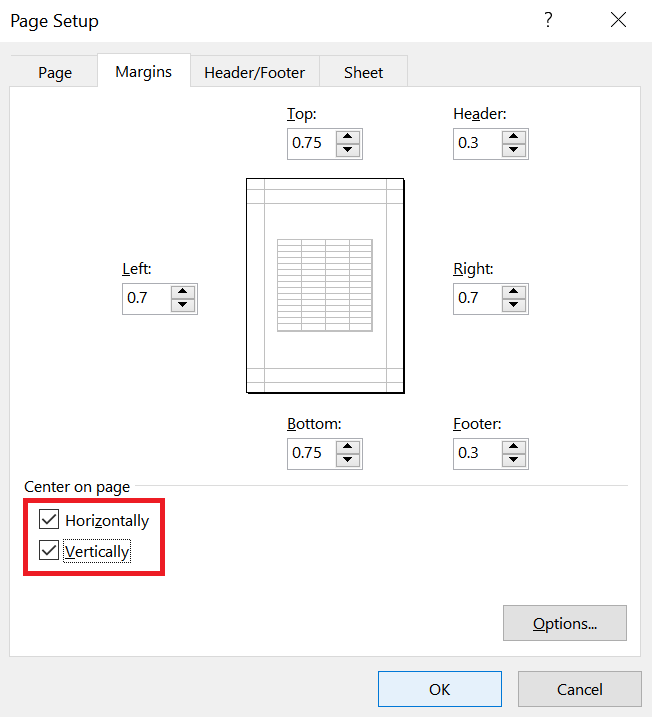
Once the Page Setup form appears, go to the Margins tab.
From the “Center on page” section, tick the Horizontally checkbox and click OK.
And that’s it! The contents of your worksheet will move to the center of the page horizontally (as you will see on the Print Preview).
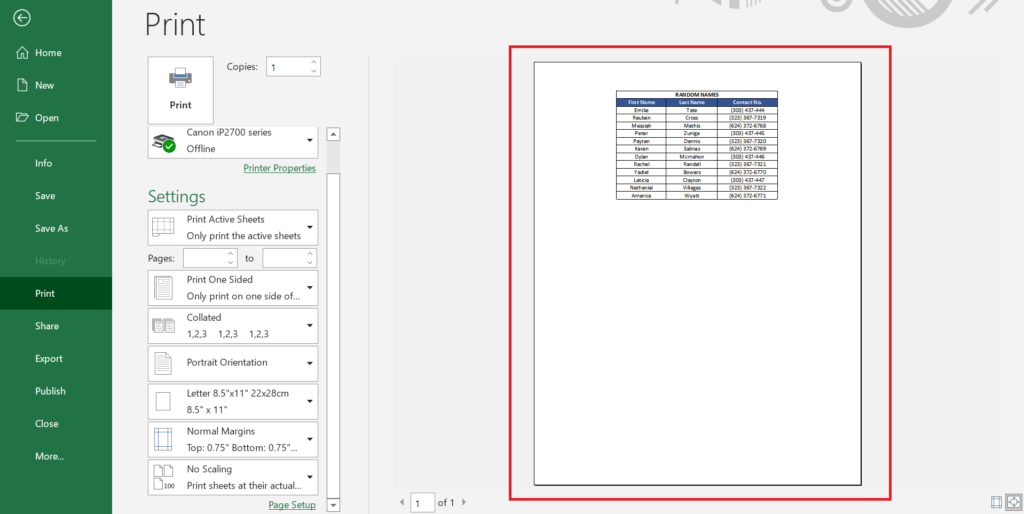
You can now proceed with printing the page(s) or go back and make additional changes to the sheet.
Configuring the Page Setup from the Page Layout menu
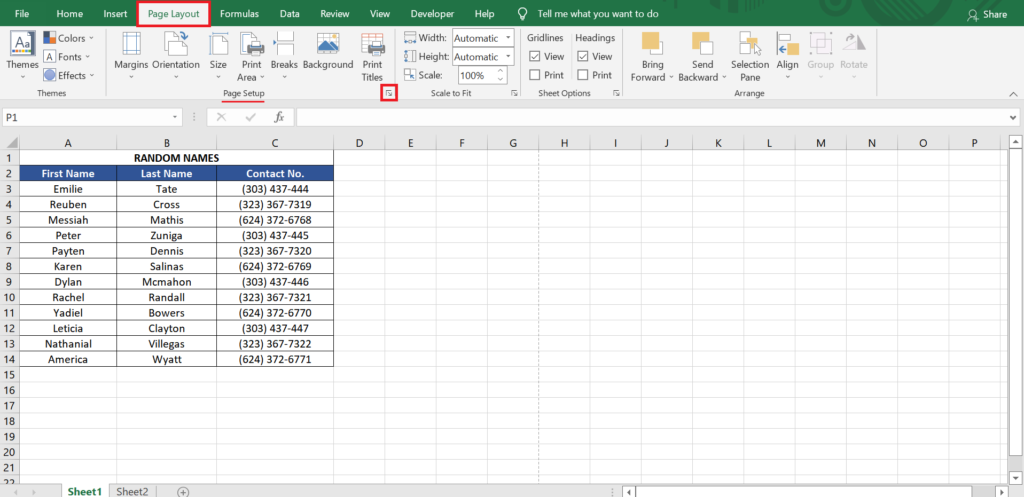
Activate the worksheet you intend to print, go to the Page Layout menu and click on the small arrow on the rightmost area of the Page Setup section.
The Page Setup form will appear. Go to the Margins tab.
From the “Center on page” section, tick the Horizontally checkbox.
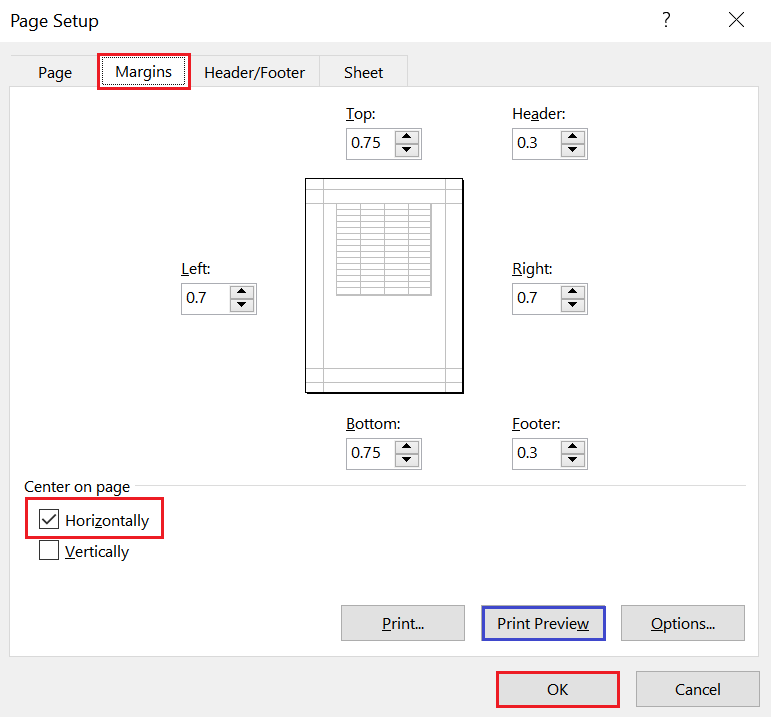
If you want a preview of what it looks like on the page, click on the Print Preview button.
Otherwise, click on the OK button.
That’s it! You have moved the selected print area to the horizontal center of the page.
How to Center a Worksheet Horizontally and Vertically in Excel?
If you want to move the contents of the worksheet to the center of the whole page (horizontally and vertically), do the same steps as above and add this additional step:
From the “Center of Page” section, tick on the Vertically checkbox too.
That’s it! The contents of the worksheet are now in the horizontal and vertical center of the page.
Conclusion
When I didn’t know about this Page Setup feature, I used to painstakingly move the cells inside the worksheet and adjust the column sizes for me to move the contents to the page’s center. Had I known this option was available, I wouldn’t have wasted so much time! I created this tutorial so you won’t have to make the same mistake. I hope this helps you!
Also Read: How to Remove Password from Excel?