Excel is not just for mathematical calculations, the software also offers many powerful ways to manipulate data, including separating text strings. Manipulating text is accomplished through several methods and we walk through five options in this tutorial.
Table of Contents
Use the Find and Replace Function to Remove Text Before or After a Specific Character in Excel
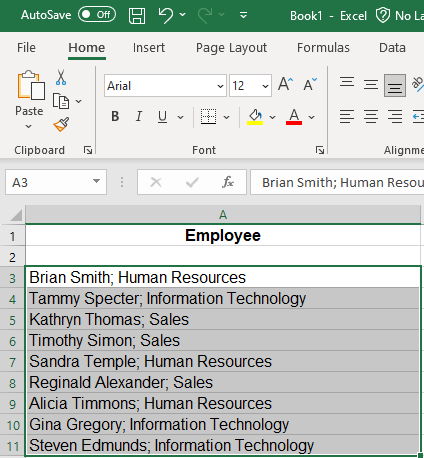
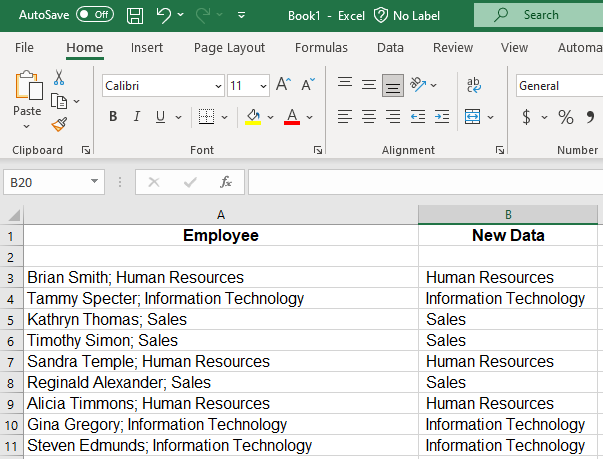
For this tutorial, we will work with employee names and company roles separated by semicolons in individual cells in Excel.
- Select all the cells in your worksheet.
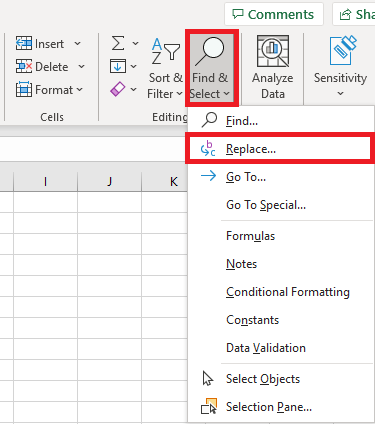
- Tap the down arrow to the right of Find & Select in the Editing Group on the Home Tab and then click Replace…
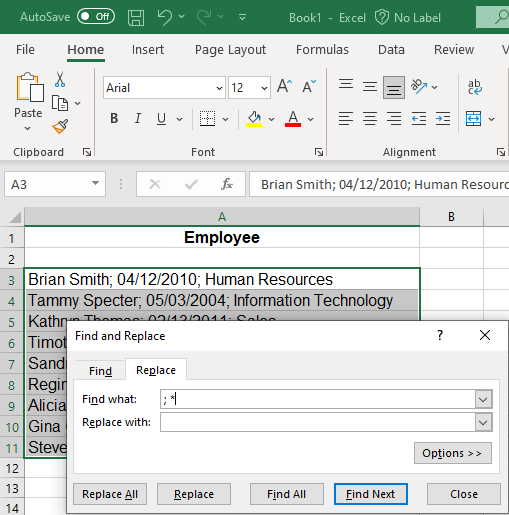
- Type an asterisk (*) followed by a semicolon (;) in the Find What: portion. Leave the Replace text box empty and tap the Replace all button.
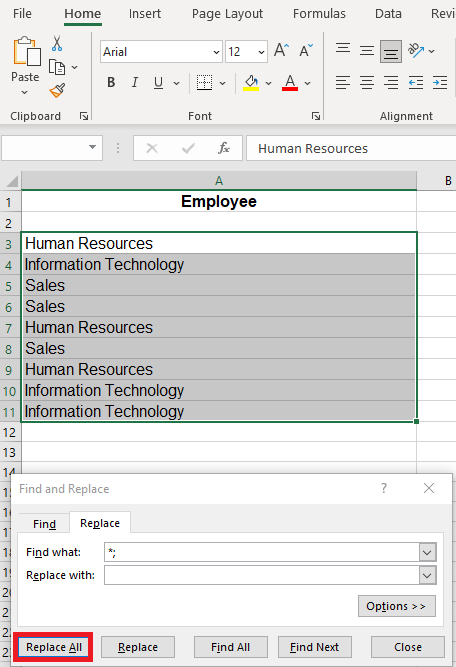
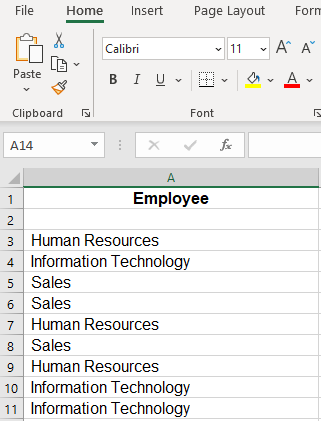
- Excel deletes the employee names from the cells, leaving just the company roles.
Use Find and Replace to Remove Text After a Specific Character in Excel (H3)
- Select all the cells in your worksheet.
- Click the down arrow to the right of Find & Select in the Editing Group on the Home Tab and then tap Replace…
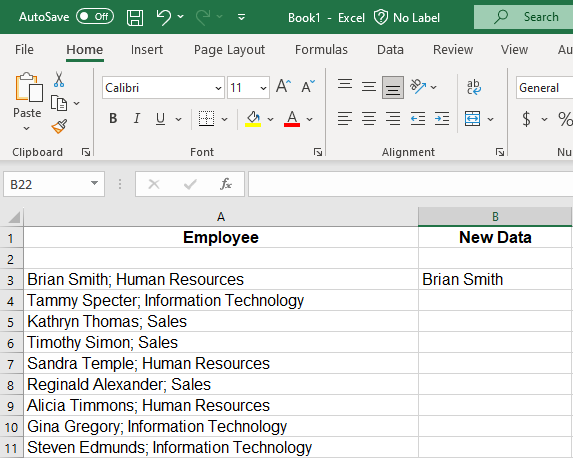
- Insert a semicolon (;) accompanied by an asterisk (*) in the Find What: portion of the dialog box. Leave the Replace text box empty and press the Replace all button.
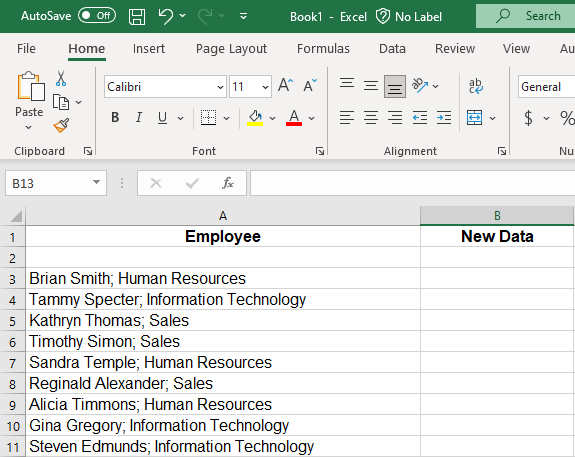
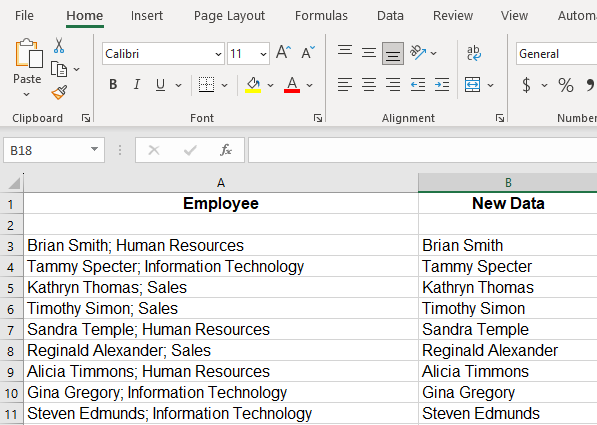
- The company roles are deleted and only the employee names remain.

Use Formulas to Remove Text Before or After a Specific Character in Excel
Functions in Excel require arguments for them to work properly.
The TEXTBEFORE function has four arguments:
- Text: The text you are searching for. This is required.
- Delimiter: The character that marks the exact place in the text before the text you want to remove. This argument is required. This is also used to separate first and last names.
- Instance_Num: The number of instances in which the delimiter appears after the text you wish to extract. This argument is optional, but the default is equal to 1.
- Match_Mode: Can be used if the text is case-sensitive. This argument is optional, although if you choose to use it, 1=case-insensitive, 0=case-sensitive.
- Match_End: Sees the end of the text string as a delimiter. This argument is also optional; however, you can enter 0 to not match the end of the string or 1 to match the end of the string.
Now, let’s use the TEXTBEFORE function in our example.
- Place a new column next to your original data.

- Type the following into the first cell of the new column: =TEXTBEFORE(A3,”;”,1,1,0).
We used some of the optional arguments in the formula so that you can see them in action.
- A3 is the cell where the search text is
- The semicolon is the delimiter and must be enclosed in quotation marks
- The first number 1 is the first and only instance of the delimiter
- The second number 1 tells Excel that the match_mode is not case sensitive
- The zero signals Excel to not match the delimiter at the end of the text.
- Use the Fill Handle in the bottom right-handle corner of the cell to copy the formula through the remaining cells.

Then you can save the data afterwards without using formulas.
Use the TEXTAFTER Function to Remove Text After a Specific Character in Excel
The TEXTAFTER function has the same arguments as the TEXTBEFORE function, except for the delimiter marks the exact position in the text string after the text you want to extract.
Let’s apply the TEXTAFTER Function to our example data.
- Insert a new column beside your original dataset.
- Type the following formula into the first cell of the new column. =TEXTAFTER(A3,”;”,1,0,0).
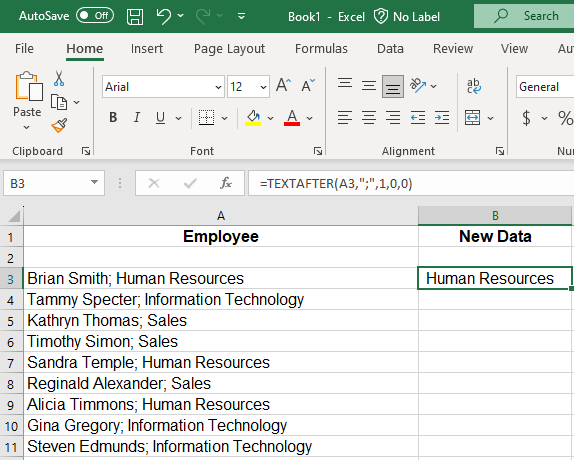
- Use the Fill Handle to insert the formula into the remaining cells.
Use Flash Fill to Remove Text Before or After a Specific Character in Excel
Flash Fill recognizes a pattern of data and will automatically fill a column with new data based on that pattern.
- Insert a new column next to your data.
- Type the text that you want to appear in the first cell of the new column and press the ENTER key.
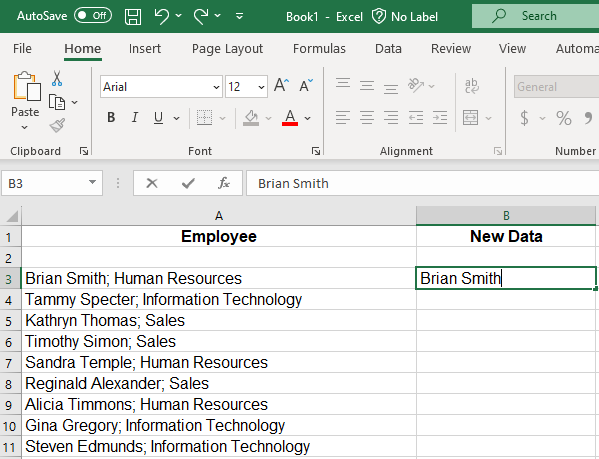
- Start typing the data into the next cell. You see a dim list appear with the pattern for the existing data.
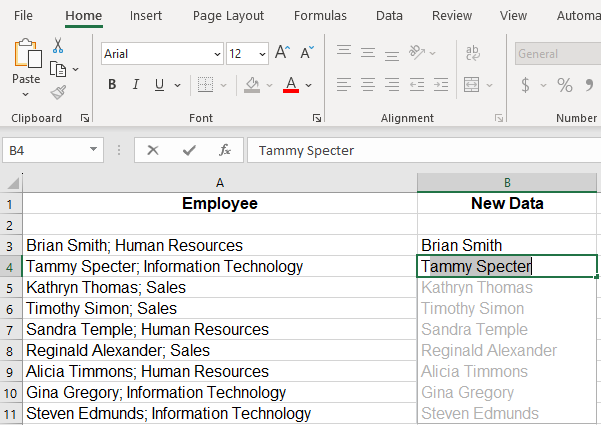
- Press the ENTER key and Excel will finish the pattern for you.
Conclusion
Now, you have learned different ways of extracting data (and maybe URLs from hyperlinks, too). Also you can check other related tutorial that explains How to Remove a Specific Character from a String.