Need to generate a list of all the files inside a particular folder? Don’t worry. You don’t need to go through all the files one-by-one to copy their name. That would be too time-consuming! We can automate this process using Excel.
The methods introduced here are functions that we don’t commonly use in Excel, so I suggest going over them, so you’ll learn some new techniques. You never know. You might find your favorite method in the latter part of the article.
Copy Filenames Inside a Folder and Paste Them on Excel Using the ‘Copy as Path’ Method
1. From the File Explorer, open the folder which contains the files you want to get the filenames from.
If you need to unsort the data first, go ahead.

2. Select all the files you want to get the names from.
If you want to select all the files inside the folder, click on one file first and press CTRL + A to select the rest.
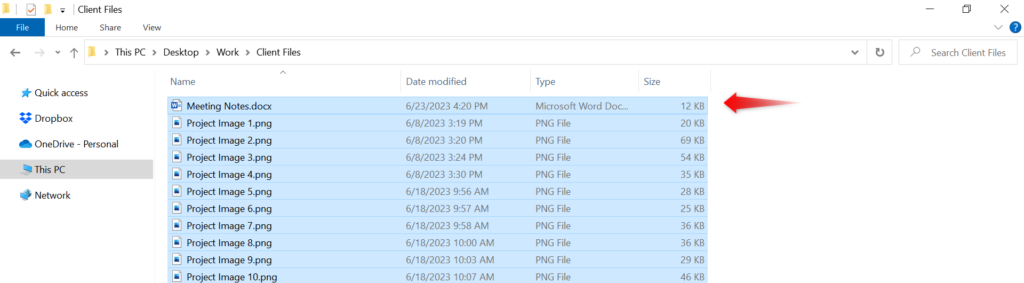
3. Hold the SHIFT key and right-click one of the selected files.
IMPORTANT: Ensure that you press the SHIFT key while right-clicking one of the selected files. If not, you won’t be able to perform the next step.

From the dropdown list that appears, select “Copy as Path”.
4. Open the workbook (can be the workbook you saved without formulas) where you want to paste the list of files.
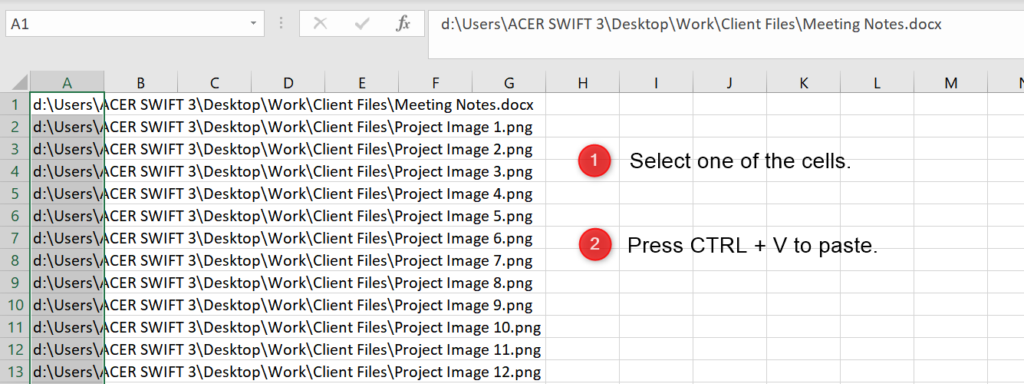
Select one of the cells and press CTRL + V to paste.
5. And that’s it! You should now have a list of all the filenames. All done in a few seconds.
PRO TIP:
If you want to only keep the filename, not the entire folder path, you can use Excel’s Find and Replace function to search for the folder path and replace it with a blank to remove it.
To do this:
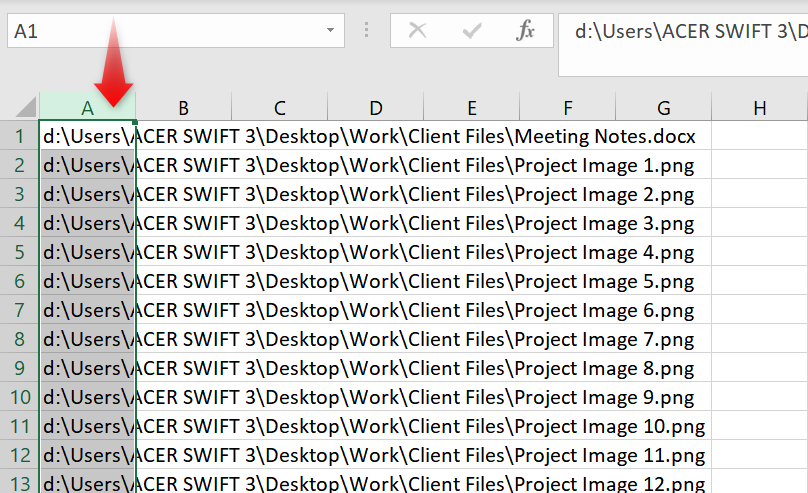
1. Select one of the cells with the filename and go to the formula bar.
Highlight the entire folder path and press CTRL + C to copy it.

2. Once it’s copied, select all the cells that contain the filenames.
To make things easier, you can select the entire column by pressing the corresponding column letter on top.
3. Afterward, press CTRL + H. This will open the Find and Replace menu.
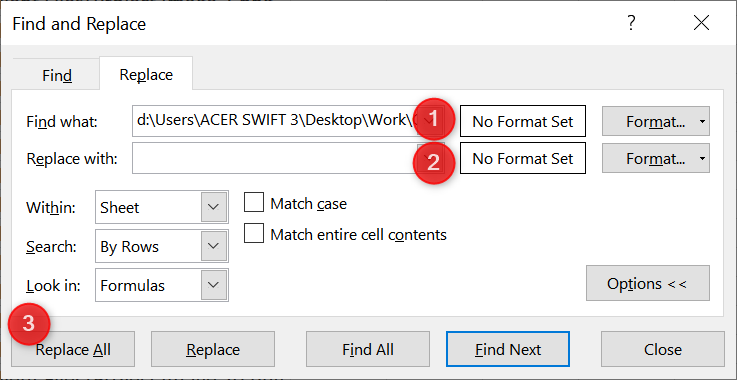
- Go to the Find What textbox and press CTRL + V to paste the folder path there.
- Leave the Replace with textbox blank.
- Click the Replace All button.
4. And that’s it! You’re now left with just the filenames inside the selected folder.

Copy the Filenames Inside a Folder Using Excel’s FILES() Function
FILES() is a special Excel function that allows you to get the list of files inside a folder without VBA or Power Query.
You won’t, however, just find it in the list of available functions in Excel. It can only be used in Named Ranges.
To use it:
1. On a blank cell, enter the folder path where you want to pull the list of files from and add an asterisk (*) at the end of it.
Example: D:\Users\ACER SWIFT 3\Desktop\Work\Client Files\*

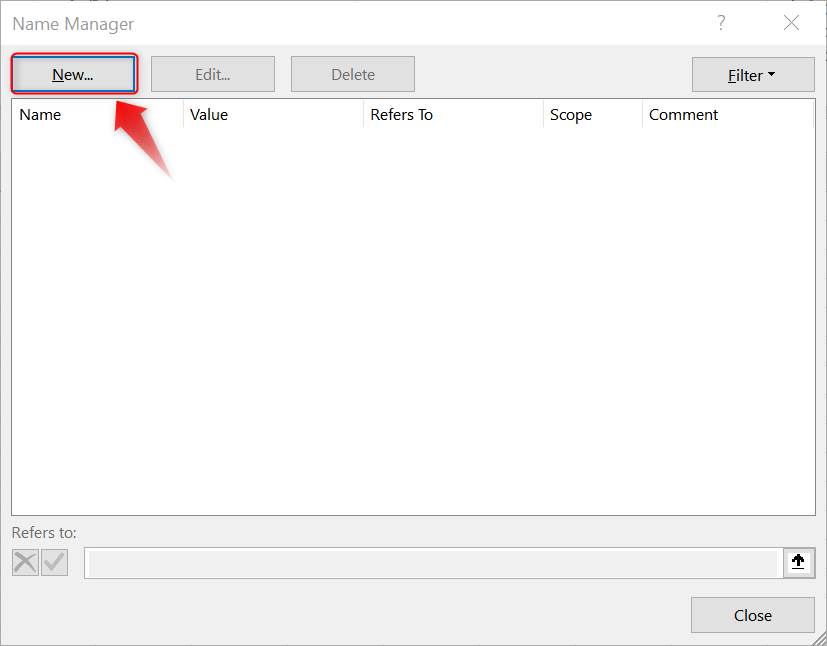
2. Go to the Formulas tab and click Name Manager.

3. When the Name Manager menu appears, click the New button.
4. We will now create a named range that will get the files in the specified folder.
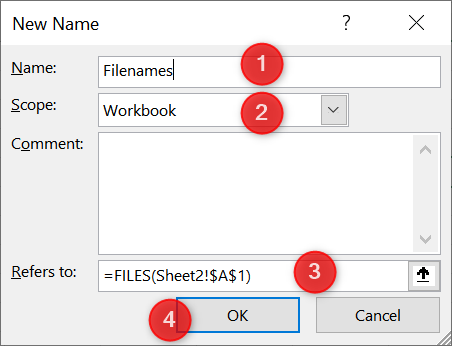
To do this:
- In the Name textbox, type “Filenames”.
- In the Scope dropdown menu, select “Workbook”.
- In the Refers To textbox, enter this formula: =FILES([range]). Change [range] with the address of the cell where you entered the folder name.
- Once done, click OK.
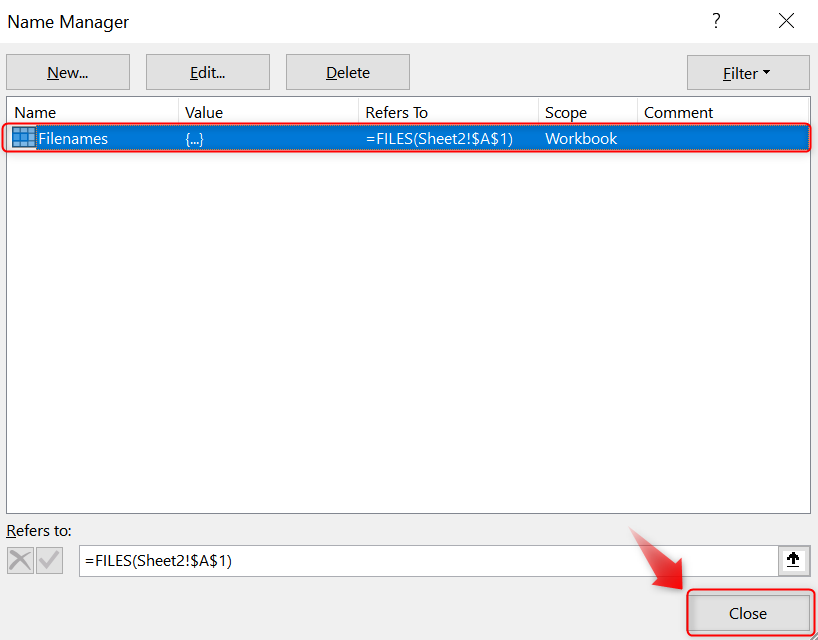
5. You should now see “Filenames” in the list of named ranges. Click the Close button to continue.
6. We’ll now add a formula to refer to this named range.

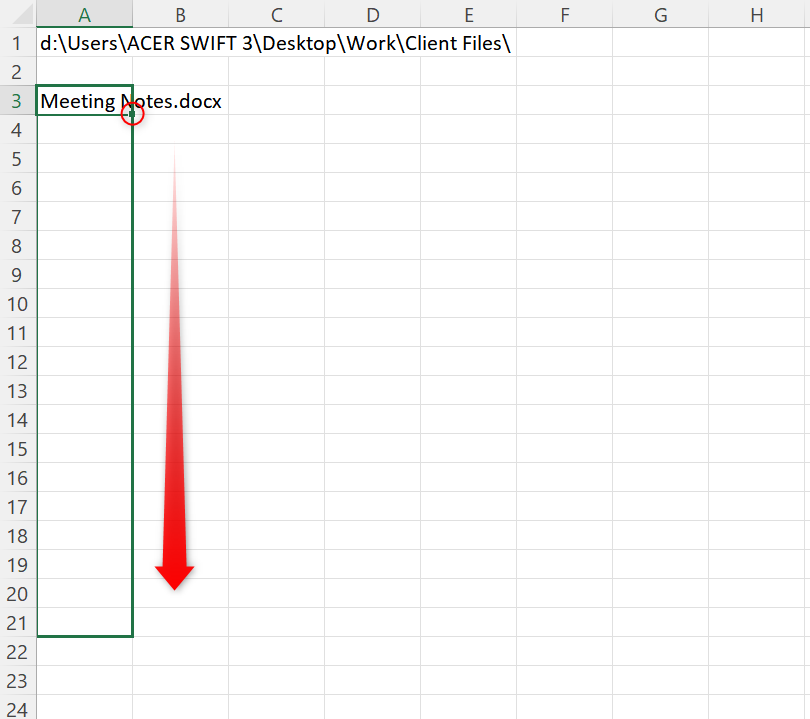
On a blank cell, enter the following formula: =IFERROR(INDEX(Filenames, ROW()-2),””)
Change “2” with your current row minus 1.
In my example above, I’ve added the formula in row 3, that’s why I added 2 in my formula.
If you added the formula in row 1, remove “-2” altogether.
FORMULA EXPLAINED:
What the INDEX() formula does is that it returns the value of an element in an array – in our case, from the Filenamesarray.
Notice that it only returns 1 item at a time.
To retrieve all items in the array, we need to add an incrementing number as the second parameter (with the first value starting with 1).
This is why have utilized the ROW() function. This function returns the row number of the current cell.
If we add the formula in rows 2 and up, we subtract ROW() with the current row number minus 1 to get 1 as the starting value.
7. Drag the Fill Handle Down to copy the formula to the remaining rows.
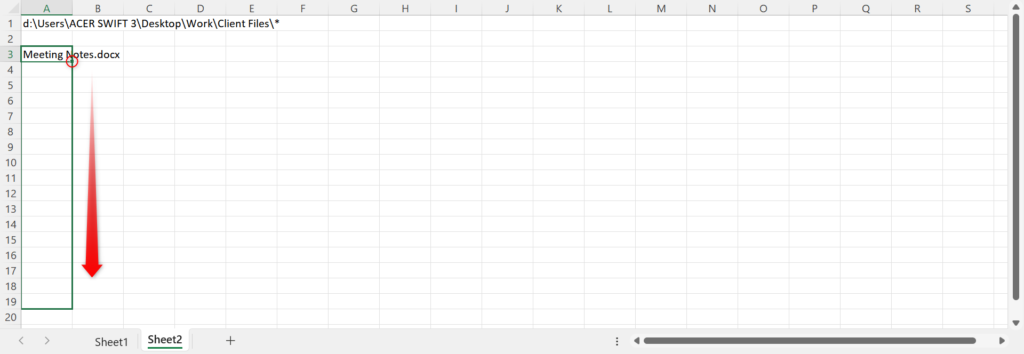
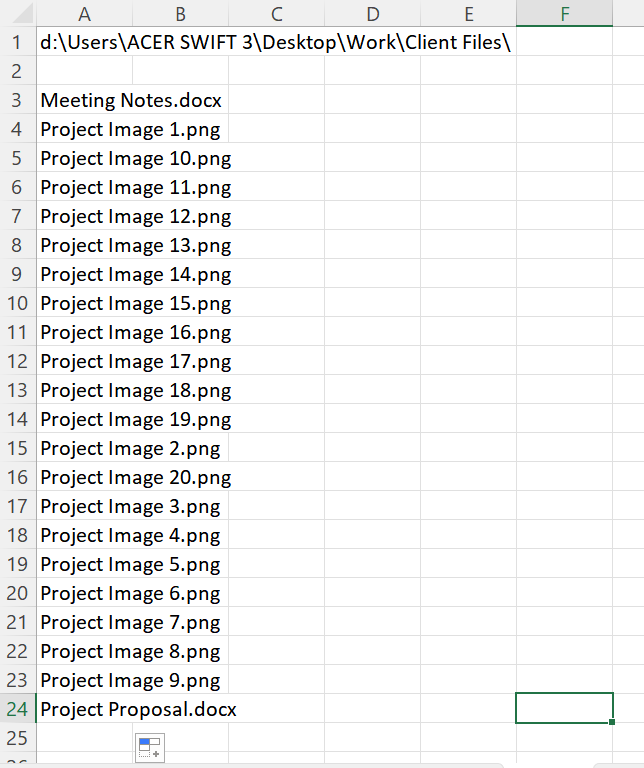
Keep dragging the Fill Handle down until you see the last filename added to the list.

Another way to find this out is that if you start seeing blank cells, it means that you’ve reached the last filename.
And that’s it! You have successfully collected all the filenames inside the file.
What’s great about this method is that if you want to view the files in another folder, you only need to change the folder specified. Just don’t forget to add the asterisk at the end.
Copy the Filenames Inside a Folder Using Excel’s Power Query
Another quick way to get the filenames inside a folder is by using the Power Query in Excel.
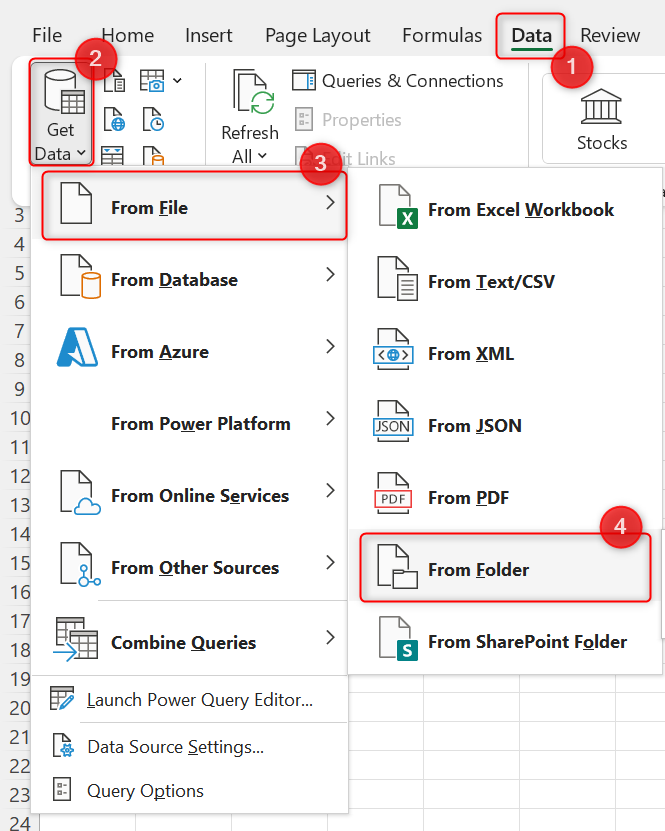
1. Go to the Data tab and click Get Data >> From File >> From Folder.
2. Wait until the Power Query has fully loaded.
The Folder Explorer will then appear. Select the folder where you want to pull the list of files from.
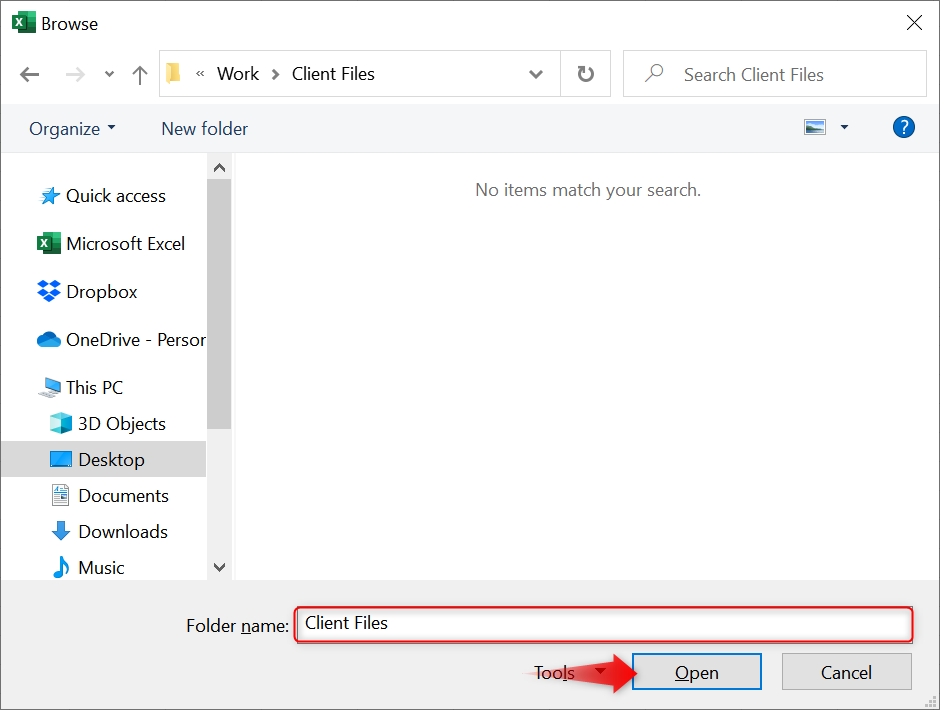
Once you see your desired folder in the Folder name textbox, click Open.
3. You’ll then see a preview of the data collected by Power Query. Notice that it contains not only the filenames but also other details of the files.
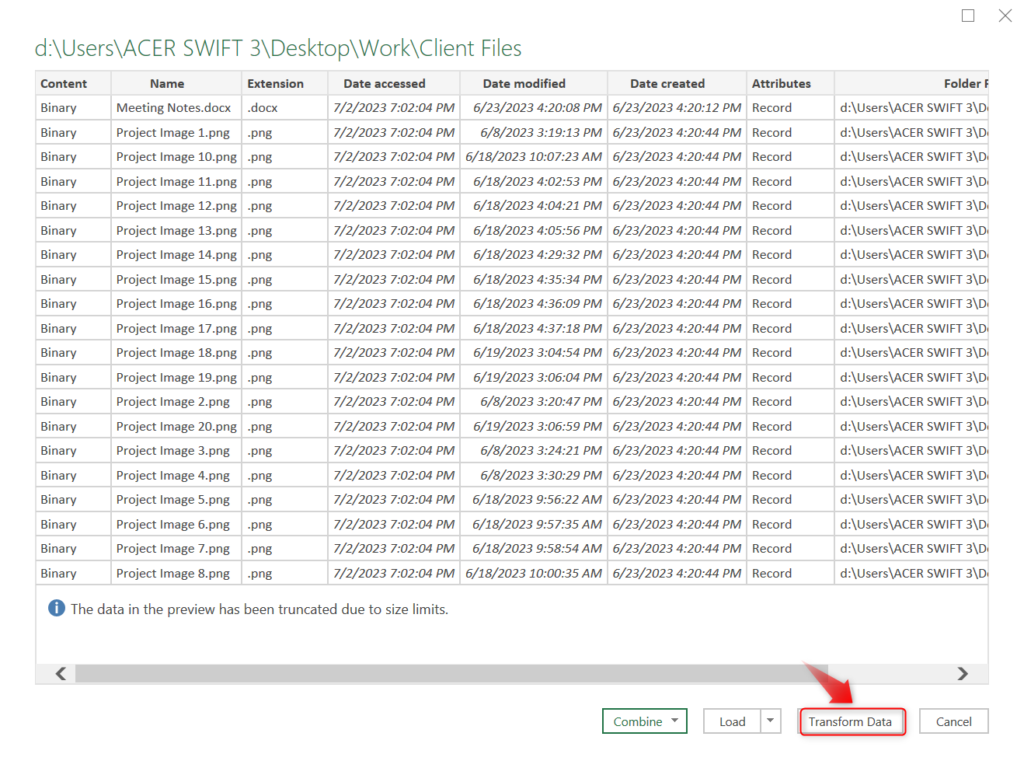
Click the Transform Data button.
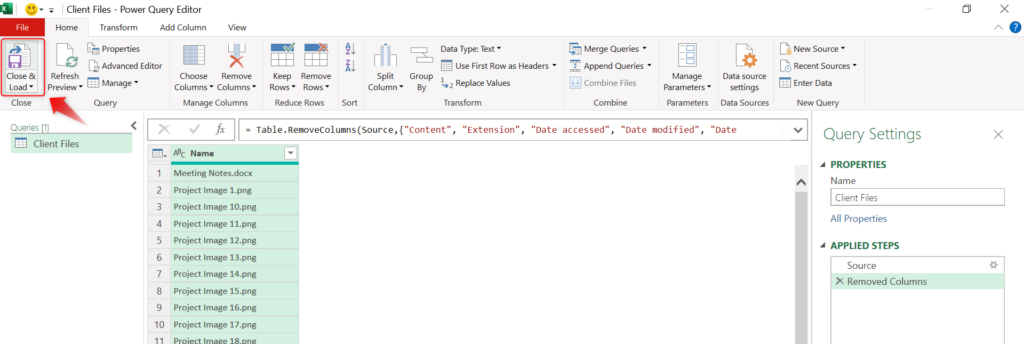
4. Delete the columns that you don’t need by clicking on the column header and pressing the DEL key.

5. Once you’re happy with the remaining fields, press the Close & Load button.
That’s it! You now have a complete list of all the files inside the selected folder.

What’s great with this method is that if you need to get the updated list of files inside the folder, you only need to right-click on the table and select Refresh.
Copy the Filenames Inside a Folder Using Excel VBA Code
If you prefer automating things using VBA, you’ll like this method. Here, we’ll be creating a custom function and you can even configure it to only show files in a particular format.
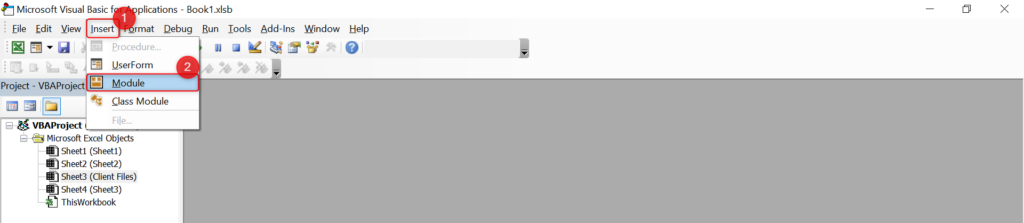
1. Press ALT + F11 to open the VBA Editor.
2. Go to the Insert menu and select Module.
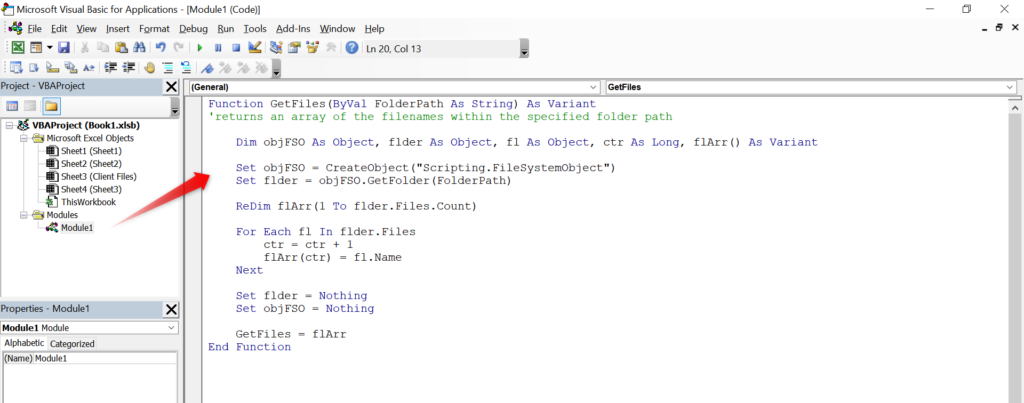
3. Copy the following code onto the new module added.
Function GetFiles(ByVal FolderPath As String) As Variant
'returns an array of the filenames within the specified folder path

    Dim objFSO As Object, flder As Object, fl As Object, ctr As Long, flArr() As Variant

    Set objFSO = CreateObject("Scripting.FileSystemObject")
    Set flder = objFSO.GetFolder(FolderPath)

    ReDim flArr(1 To flder.Files.Count)

    For Each fl In flder.Files
        ctr = ctr + 1
        flArr(ctr) = fl.Name
    Next

    Set flder = Nothing
    Set objFSO = Nothing

    GetFiles = flArr
End Function
4. Close the VBA Editor and go back to your worksheet.
5. On a blank cell, enter the folder path which you would like to pull the list of files from.
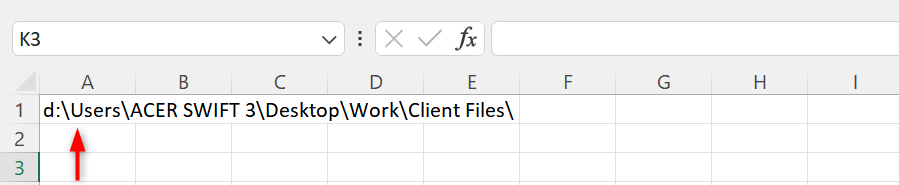
In my example above, I’ve added it in cell A1.
6. Now, it’s time to use the custom function we just added.
On a blank cell, enter the following formula: =IFERROR(INDEX(GetFiles($A$1), ROW()-2),””)
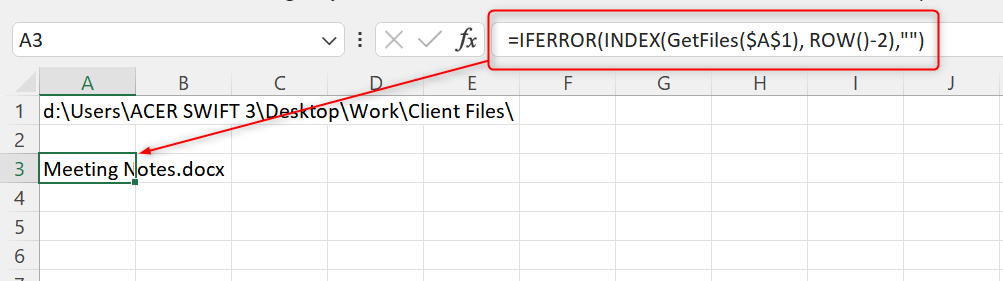
Change “$A$1” with the address of the cell where you placed the folder path.
Change “2” with the current row number minus 1.
I’ve added the formula in cell A3, that’s why I subtracted ROW() with 2.
7. Drag the Fill Handle down to copy the formula to the remaining cells.
Keep dragging it down until you see the last file in the folder listed.
And that’s it! You should now have a list of all files (including DBF files) inside the folder.
If you want to only get the filenames of files in a specific format (e.g., Excel files only), you can do so by using the following code:
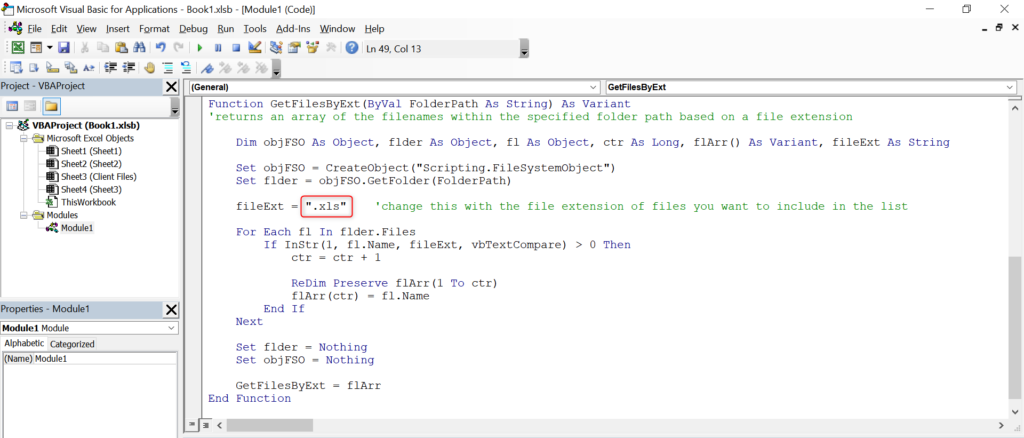
Function GetFilesByExt(ByVal FolderPath As String) As Variant
'returns an array of the filenames within the specified folder path based on a file extension

    Dim objFSO As Object, flder As Object, fl As Object, ctr As Long, flArr() As Variant, fileExt As String

    Set objFSO = CreateObject("Scripting.FileSystemObject")
    Set flder = objFSO.GetFolder(FolderPath)

    fileExt = ".xls"    'change this with the file extension of files you want to include in the list

    For Each fl In flder.Files
        If InStr(1, fl.Name, fileExt, vbTextCompare) > 0 Then
            ctr = ctr + 1

            ReDim Preserve flArr(1 To ctr)
            flArr(ctr) = fl.Name
        End If
    Next

    Set flder = Nothing
    Set objFSO = Nothing

    GetFilesByExt = flArr
End Function
Just don’t forget to change the file extension specified in the code if you want a different file format (see highlighted text below). You can, for example, change “.xls” to “.doc”.
Also, to use this function, enter the following formula on a blank cell: =IFERROR(INDEX(GetFilesByExt($A$1), ROW()-2),””)
Don’t forget to change “$A$1” and “2” with the appropriate values.
For other things that you need to copy in Excel, refer to the following articles.
Conclusion
Getting the list of filenames inside a folder is a very simple task, but it can take a long time if you don’t use the right tools to do it. Who would have thought that you can do it with Excel? I hope you were able to find the method that you were looking for.